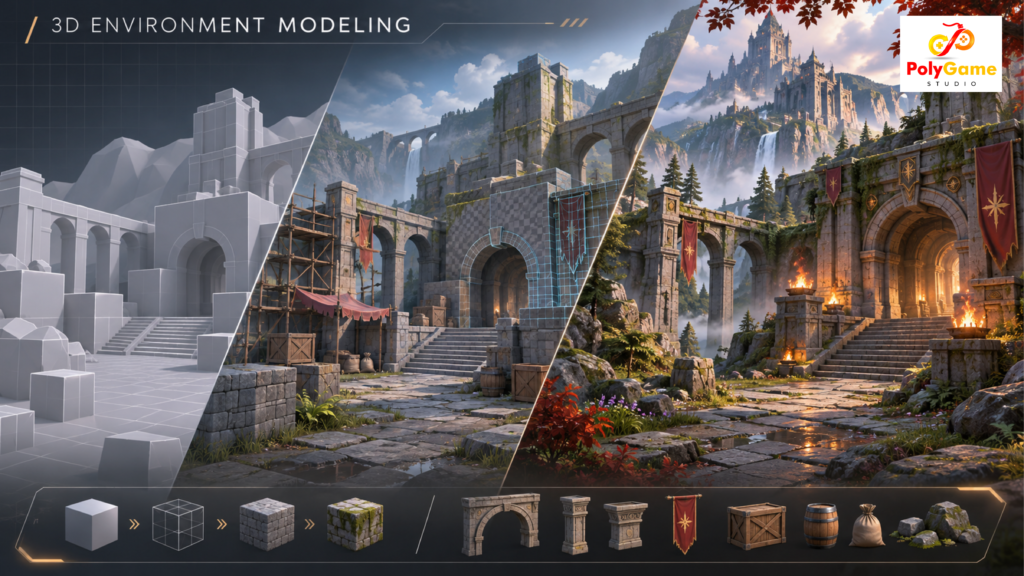
3D Environment Modeling for Games: From Blockout to Engine-Ready Worlds
A player turns a corner in an abandoned railway station. The lights are flickering. A suitcase lies beside an open door, and the next objective is visible across the platform. Nobody has explained what happened here, yet the scene already feels like part of a story.
That’s what good 3D environment modeling can achieve. The environment isn’t simply scenery placed behind gameplay. It tells players where to look, gives them reasons to explore, and makes a fictional place feel worth remembering.
The challenge in 3D environment modeling is that a beautiful still image is not the same as a game-ready world. A hallway must have workable dimensions. Materials need to hold up under changing light. Buildings, foliage, and props must fit performance budgets. Every corner must make sense when a player approaches it from an unexpected direction.
This guide breaks down 3D environment modeling as an actual production process—from an early graybox to assets that are ready for a game engine. It’s for developers, producers, art directors, and teams preparing to outsource environment art. Along the way, we’ll look at the decisions that save revisions, the deliverables worth asking for, and the mistakes that turn a promising scene into an expensive rebuild.
What Is 3D Environment Modeling in Game Development?
3D environment modeling is the creation of three-dimensional spaces and their component assets for games and interactive experiences. It can cover the terrain beneath a character’s feet, the buildings on a street, the furniture in a room, and the distant skyline that frames the player’s view.
3D environment modeling overlaps with level design but isn’t identical to it. Level design determines how a player moves, encounters challenges, and progresses through a space. Environment art gives that space its physical form, materials, atmosphere, and visual identity. The two disciplines need to talk constantly, not hand work over once and disappear.
For a closer comparison, see PolyGame Studio’s article on 3D game environments versus level design.
At its best, 3D environment modeling answers three questions at once: Does this world communicate the intended mood? Can the player use it? Can the target hardware render it?
The 3D Environment Modeling Workflow: 9 Production Stages
A dependable pipeline isn’t about using the most tools. It’s about making important decisions before they become difficult to change. The following 3D environment modeling stages provide a practical framework, whether a team is developing a compact interior or a large outdoor level.
1. Define the Brief, Platform, and Gameplay Constraints
Before a 3D environment modeling artist models a brick, establish what the environment needs to do. Is it a multiplayer combat arena or a slow exploration scene? Will players see it from eye level, an overhead camera, or VR? Does the project target mobile devices or high-end PCs?
A useful 3D environment modeling brief defines the visual style, playable area, scale references, target engine, platform, expected camera distance, asset categories, and who approves each milestone. It also distinguishes hero assets—the objects players will notice—from background dressing.
Here’s a common 3D environment modeling mistake: approving a gorgeous concept without checking the gameplay footprint. A narrow doorway may look excellent in the artwork but frustrate a player controlling a wide third-person camera. Resolve constraints with the design team before detailed modeling begins.
2. Build a Reference Library That Explains the World
In 3D environment modeling, references do more than establish aesthetics. They answer construction questions: How are shop signs fixed to buildings? What happens where concrete meets wet soil? Which surfaces would actually wear down?
For realistic 3D environment modeling, gather real-world architecture, material references, lighting studies, and scale cues. For stylised projects, collect shape language, color relationships, and examples of exaggerated proportions. Keep references organised by purpose rather than throwing everything into one mood board.
A 3D environment modeling team should also write a short visual rulebook. A world becomes convincing when its parts agree with one another. If every object appears to belong to a different game, more polygon detail won’t solve the problem.
3. Graybox the Level Before Polishing Assets
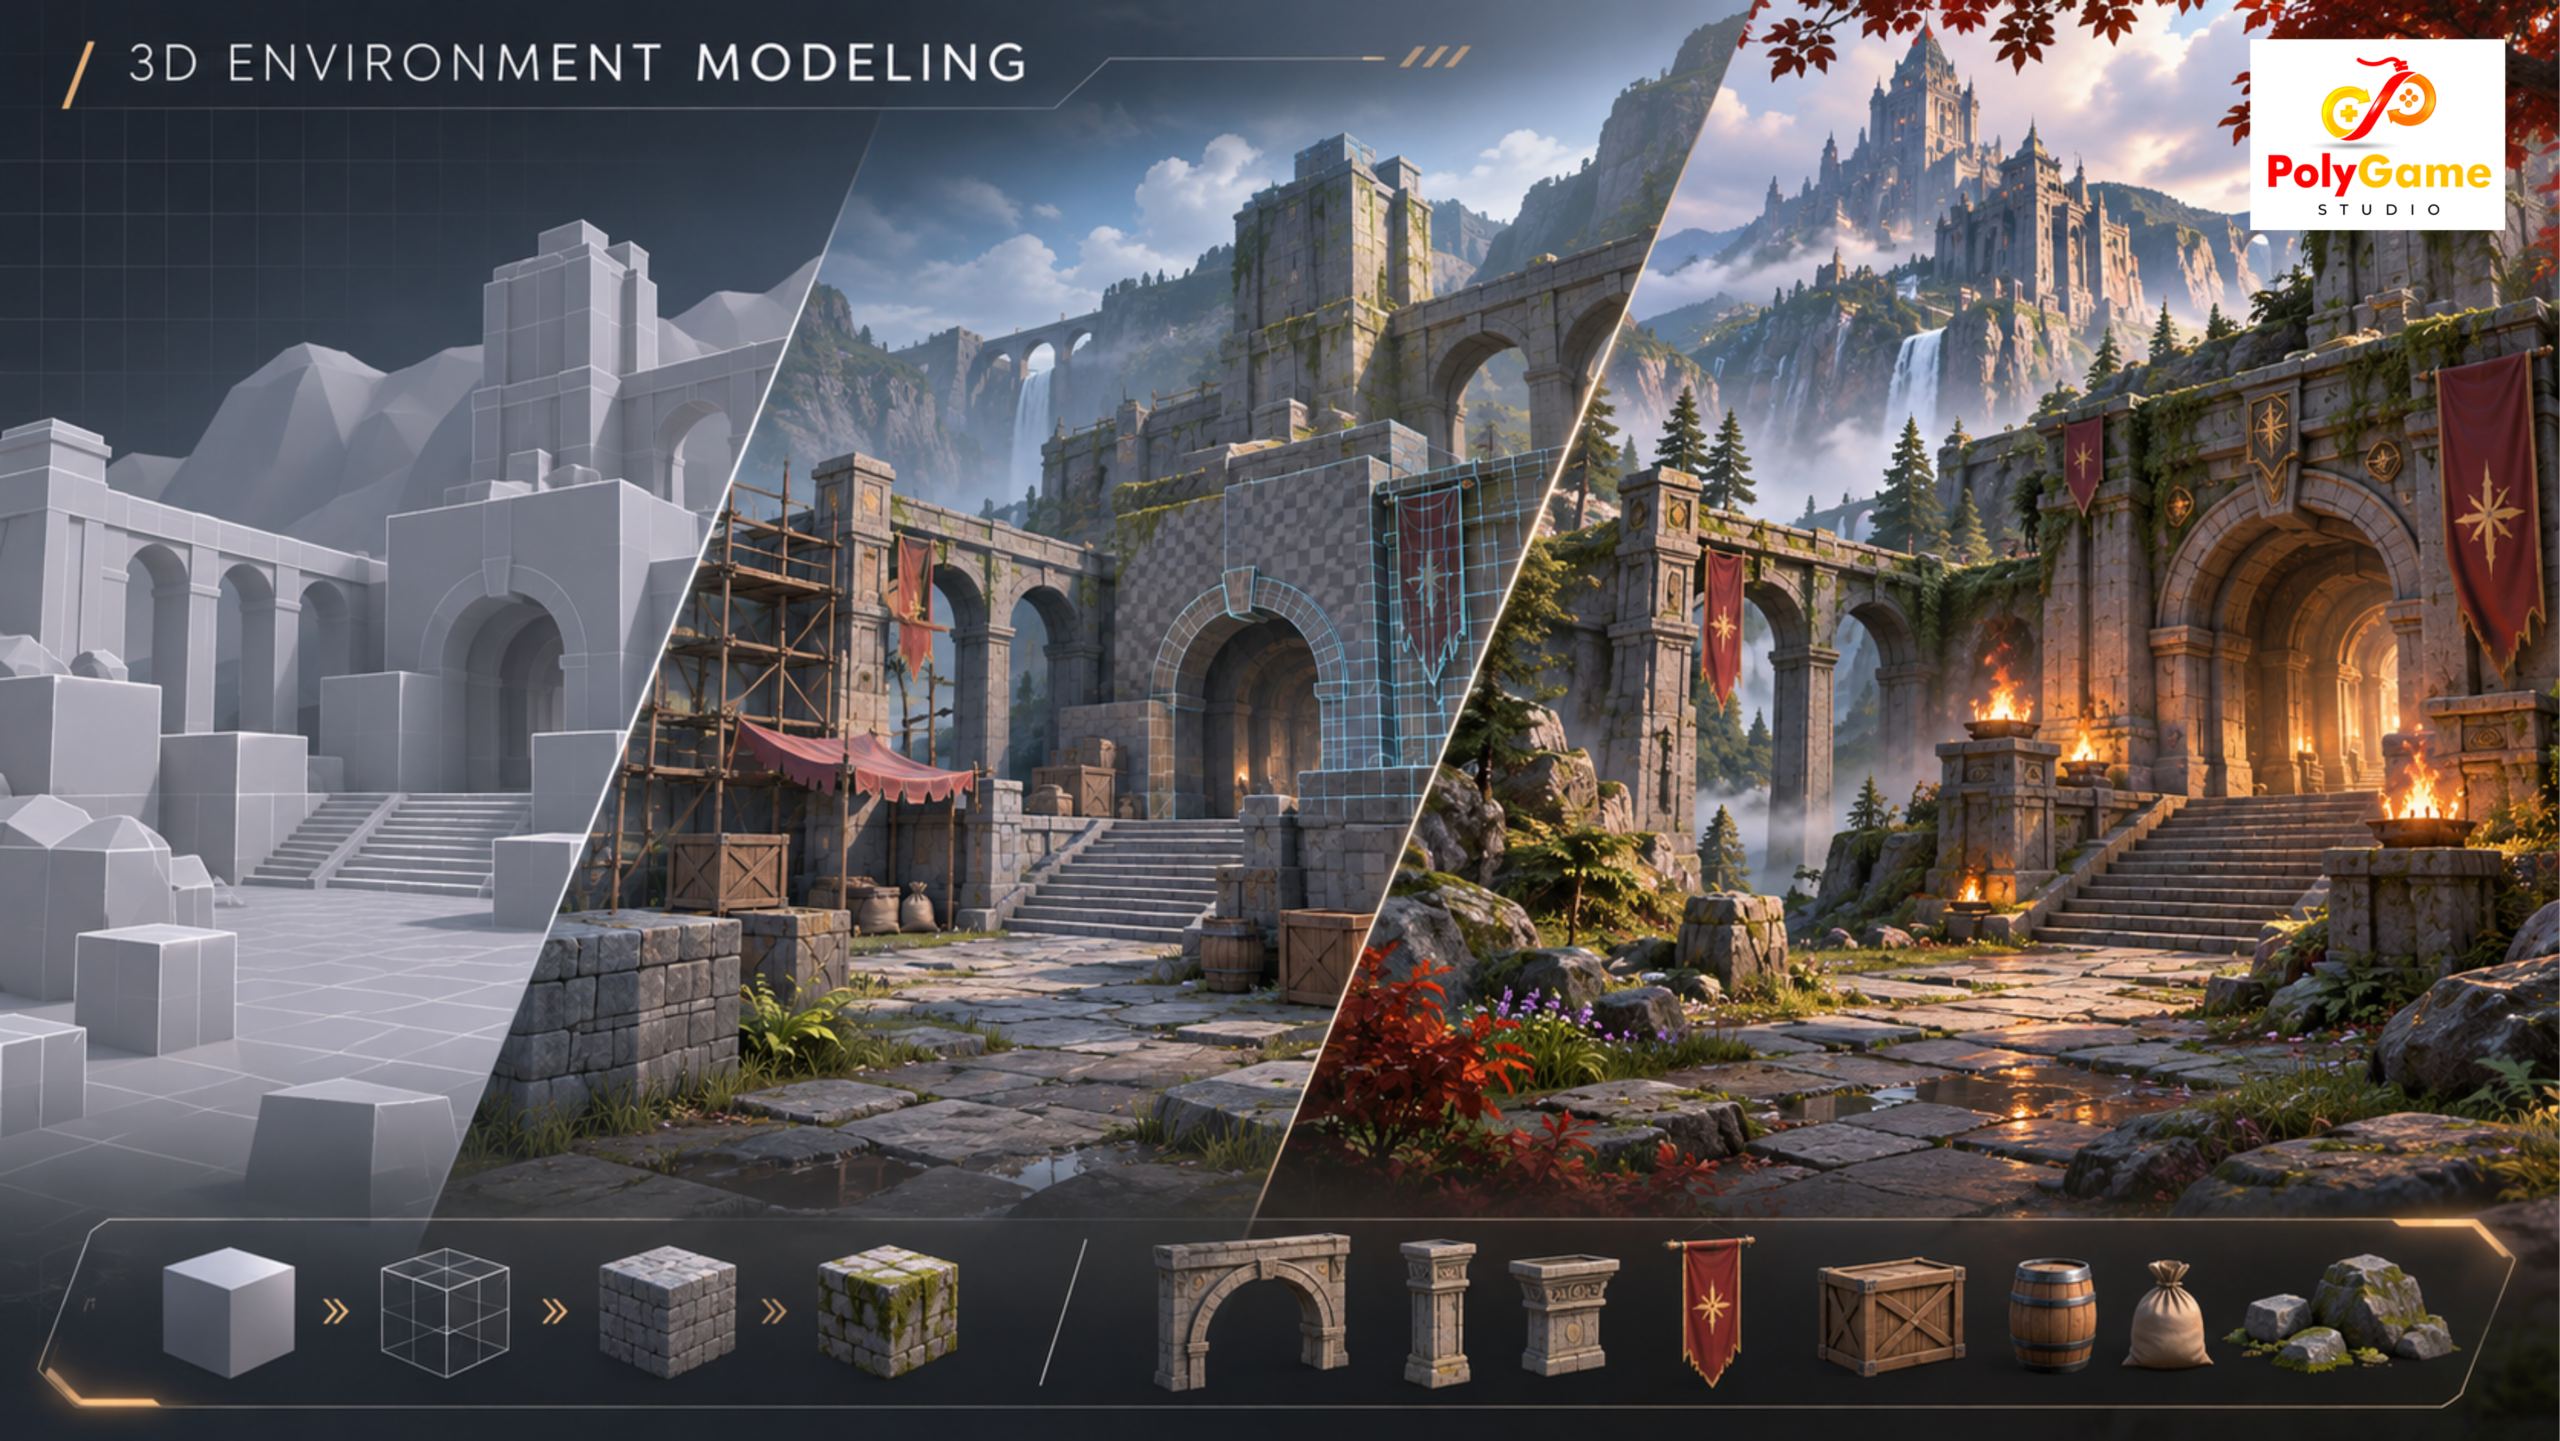
Start 3D environment modeling with primitive geometry: boxes, planes, simple stairs, and large shapes. This is usually called blockout or grayboxing. It’s where the team’s assumptions meet the player controller.
During this stage of 3D environment modeling, test corridor widths, sightlines, traversal distances, cover placement, verticality, and camera behavior. A quick playable graybox often exposes problems that a high-detail render hides.
Consider a 3D environment modeling assignment for a rooftop chase scene. The concept art shows dramatic jumps between buildings. In the blockout, however, the gaps are too long for the character’s movement system. It’s cheaper to move simplified buildings now than to rebuild finished facades after animation and gameplay testing.
Approval checkpoint: Do not treat an attractive blockout screenshot as proof of good flow. Walk through the space in the actual game engine.
4. Design a Modular Kit Instead of Modeling Every Wall From Scratch
In 3D environment modeling, modular assets—repeatable walls, floors, beams, door frames, windows, and trims—can speed up production and help maintain consistency. The trick is to make repetition efficient without making it obvious.
In 3D environment modeling, a modular kit should use consistent measurements, sensible pivot points, aligned grid sizes, and predictable material assignments. Shared trim sheets and tileable materials can reduce unnecessary texture variation.
For example, a 3D environment modeling kit for an industrial corridor might supply several wall lengths, corner pieces, door variants, ceiling sections, and small breakup details. Recombining them produces multiple locations without individually sculpting every surface.
Not every 3D environment modeling asset should be modular. A crashed train, ancient statue, or memorable entrance may deserve a custom hero asset. The art is knowing where reuse helps and where it makes the scene feel manufactured.
PolyGame Studio has also covered the distinction between modeling and rendering modular game assets.
5. Model Terrain, Structures, and Architectural Forms
Once the 3D environment modeling blockout works, develop the main forms. Outdoor scenes may require landforms, cliffs, roads, water boundaries, and vegetation zones. Interior scenes need consistent architecture, usable stairs, and believable transitions between rooms.
This stage of 3D environment modeling benefits from clear asset ownership. Decide which geometry belongs to the landscape system, which belongs to reusable meshes, and which objects need bespoke modeling. A cliff that looks good from one camera angle may reveal stretched textures when approached from below.
For expansive landscapes, connect environment art decisions to terrain and level design services. For production support on the larger space, explore PolyGame Studio’s environment modeling service.
6. Create Props With a Purpose
In 3D environment modeling, a room full of detailed objects can still feel lifeless. What matters is whether those objects suggest human activity and support the player’s understanding of the space.
Think about an abandoned repair shop. A fresh coffee cup on a bench, an unplugged power tool, and scattered spare parts tell a different story from a perfectly tidy room. 3D environment modeling becomes more persuasive when props are chosen for context rather than added simply to fill empty surfaces.
In 3D environment modeling, set prop priorities early: interactive objects, story-critical objects, reusable set dressing, and distant background pieces. Each category may need different geometry, collision, texture resolution, and review requirements.
Teams requiring a library of reusable objects can connect this work to props and asset modeling. The service boundary matters: a well-modeled prop still has to fit the larger environment’s material and scale conventions.
7. UV Map and Texture for Consistency, Not Just Close-Up Beauty
A polished mesh in a 3D environment modeling project can look strangely uneven in-game when texel density is inconsistent. One doorway appears crisp while the wall beside it looks blurred. Repeated materials also reveal seams if UVs and trims haven’t been planned carefully.
During 3D environment modeling, artists can use UV unwrapping, tileable textures, trim sheets, and physically based rendering (PBR) materials to give surfaces a coherent response to light. Base color, roughness, metallic, and normal information each serve a different role in a typical PBR pipeline.
When doing 3D environment modeling, avoid adding dirt everywhere. Weathering should follow logic: footsteps affect floors, water affects exposed surfaces, and frequently handled objects wear differently from untouched ones. Those little choices do more for believability than random noise maps.
A 3D environment modeling material setup should be reviewed in the target engine, not just a modeling application’s viewport.
8. Light the Scene to Support Storytelling and Navigation
In 3D environment modeling, lighting shapes attention. A bright doorway tells a player where to go. A cool window against warm interior lamps creates contrast. Dense fog can suggest danger—but it can also hide a necessary route or make enemies unfairly difficult to read.
Good 3D environment modeling makes room for lighting decisions early. Leave space for light sources, plan reflective materials carefully, and test how the scene reads in motion. Mood matters, but so does visibility.
This is also why 3D environment modeling should not be evaluated only through cinematic screenshots. Walk the space at gameplay speed. Check bright and dark transitions, readable paths, and whether important interactive elements remain visible.
9. Integrate, Profile, and Prepare the Handoff
3D environment modeling becomes production-ready only when the finished scene works inside the target game. Naming conventions, transforms, collision, LODs, material instances, scale, and export settings can all cause problems during integration.
The optimization stage of 3D environment modeling should be guided by measured bottlenecks rather than arbitrary polygon limits. Geometry complexity matters, but so do draw calls, texture memory, shader cost, transparency, lighting, and overdraw.
For large Unreal Engine worlds, World Partition can stream grid cells, while hierarchical LOD (HLOD) systems can represent distant content more efficiently. These features help but do not replace asset profiling or thoughtful level construction. Epic Games documents these behaviors in its World Partition HLOD guide.
Test 3D environment modeling outputs on representative hardware and in representative gameplay views. A smooth flythrough on a developer workstation is not proof that the level will perform well on the target device.
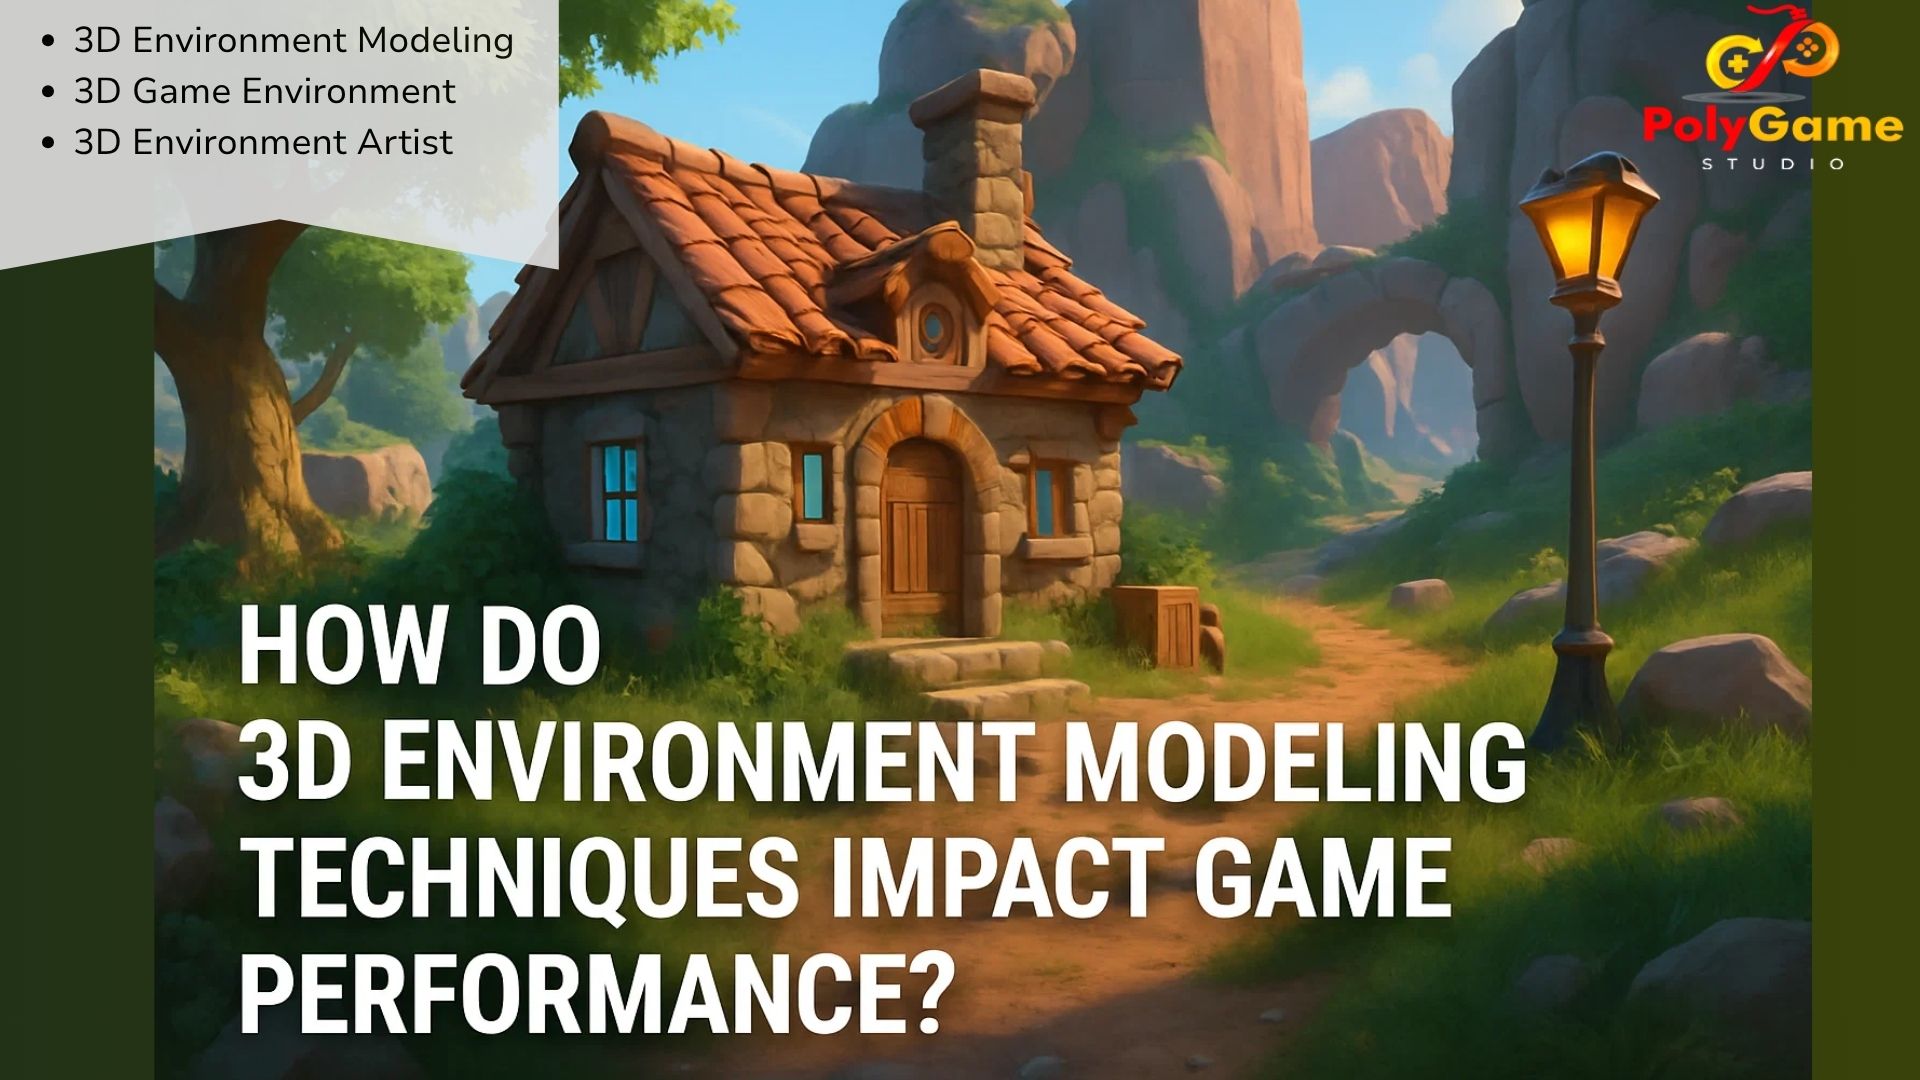
For deeper discussion of this particular issue, read the existing PolyGame Studio article on how environment modeling techniques affect performance.
A Worked Example: A Rain-Soaked Railway Station
Let’s put the workflow into context. This is an illustrative production scenario, not a claimed PolyGame Studio project.
Consider a 3D environment modeling assignment: a small game team wants a playable railway station for a narrative adventure. The player enters through a ticket hall, crosses a platform, and discovers clues in a maintenance room. The level needs to feel deserted, but the visual storytelling should reveal that people left in a hurry.
First, the team agrees on a 60-second target journey through the essential spaces, a third-person camera, and the target platform. The initial 3D environment modeling pass consists of a graybox: the hall, connecting doors, stairs, platform edge, and maintenance room.
During 3D environment modeling playtests, the team discovers that one staircase doesn’t give the camera enough room. Its footprint changes before any decorative assets are built.
Next, the 3D environment modeling team creates modular platform tiles, structural columns, wall panels, beams, and door sets. A broken information board becomes a hero asset. Smaller elements—benches, luggage, signs, cables—populate the scene in a controlled way.
The 3D environment modeling team then defines consistent materials and lets lighting do some narrative work. A maintenance lamp highlights the clue location. A darker platform exit remains visible but unsettling.
Finally, 3D environment modeling moves into validation: check seams, walking collision, prop placement, asset naming, texture streaming, and frame-time behavior on the target hardware. The lesson isn’t that every project should follow this exact sequence. It’s that feedback arrives early enough to be useful.
How Does the Workflow Change by Platform?
There is no universal polygon budget that makes every asset “game-ready.” Constraints differ by target platform, engine, rendering settings, camera behavior, and artistic style.
| Target | What to prioritize in environment production |
|---|---|
| Mobile | Memory footprint, texture sizes, material complexity, overdraw, device testing |
| PC and console | Scene complexity, visual consistency, streaming, quality settings, frame-time profiling |
| VR | Stable performance, comfortable scale, legible interactions, careful scene and lighting budgets |
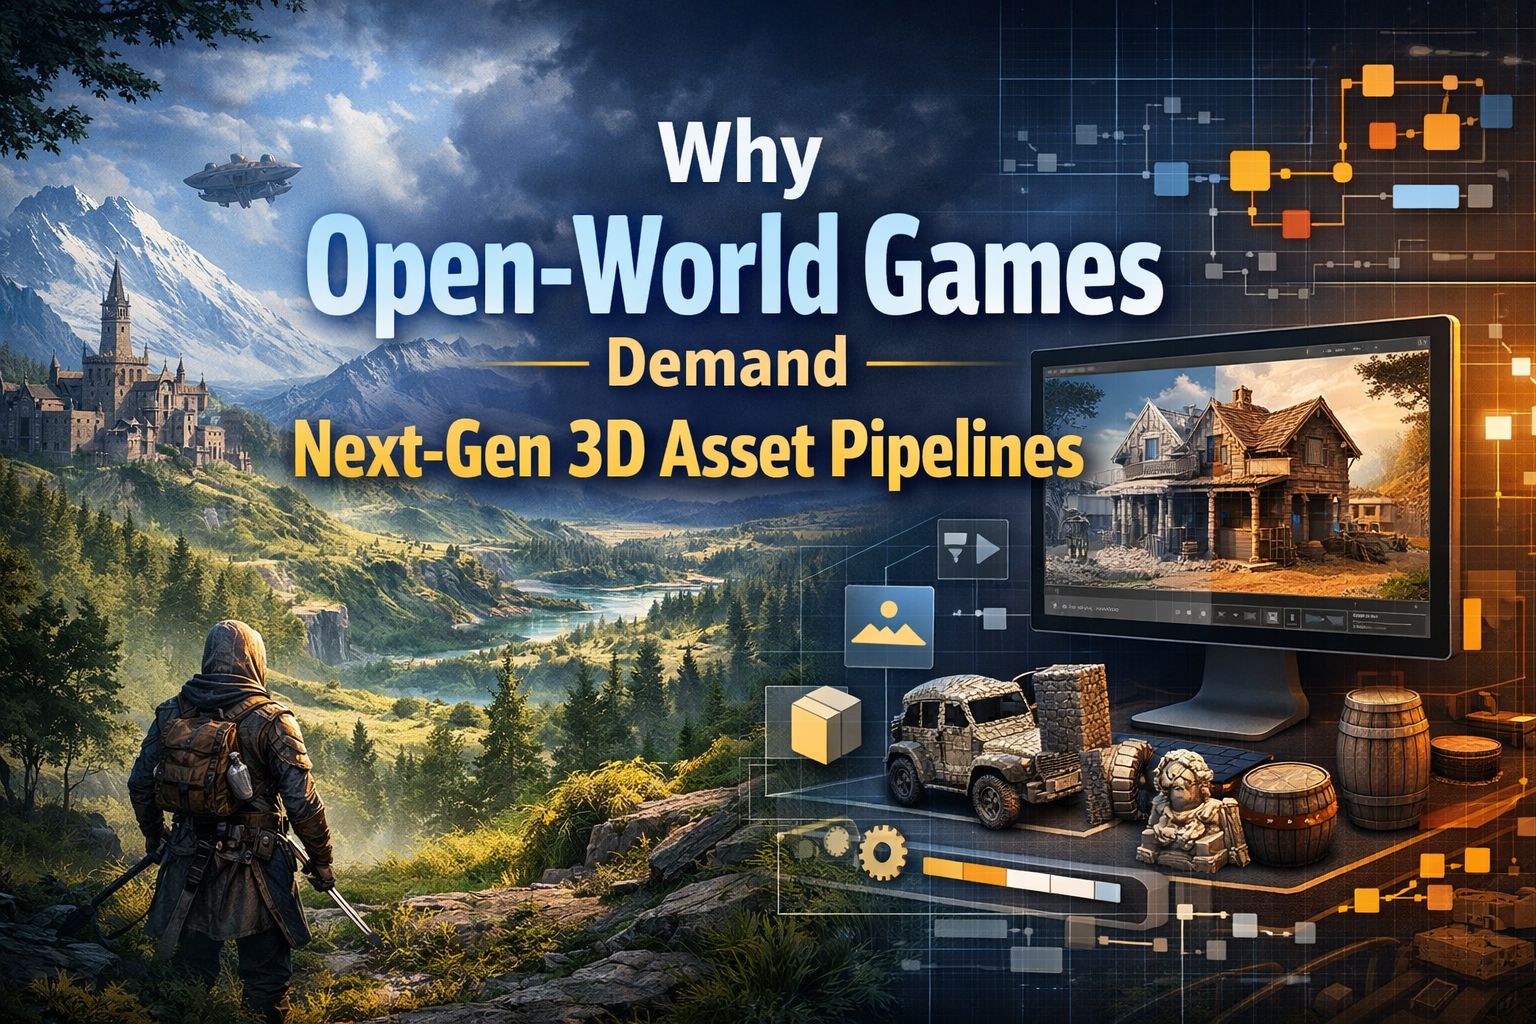
| Large open worlds | Streaming strategy, reusable asset kits, vegetation systems, world organization, distant representations |
For any platform, 3D environment modeling should be scoped around the actual performance target rather than promises such as “ultra-realistic with zero lag.” A beautiful sample that isn’t playable at the required frame rate isn’t a finished deliverable.
Game-Ready Environment Deliverables: A Buyer’s Checklist
When outsourcing 3D environment modeling, ask for a handoff that your development team can actually use. Exact deliverables depend on scope, but the checklist below is a good starting point.
- Approved blockout: Gameplay dimensions and major routes signed off before detailing.
- Organised source files: Editable projects with understandable names, layers, or collections.
- Exported meshes: Agreed formats, origin points, transforms, and consistent scale.
- Material and texture package: Properly named maps, defined color space, and documented resolutions.
- Collision approach: Clear responsibility for collision setup and testing.
- Performance requirements: Platform targets, representative test scenes, and any agreed LOD strategy.
- Scene assembly: A documented engine-level layout or explicit scope stating who integrates assets.
- Revision history: A record of approvals, changes, and unresolved issues.
These requirements make 3D environment modeling easier to review because “done” means something specific. A high-resolution render may be one deliverable, but it should not quietly substitute for editable, engine-compatible assets if those are in the brief.
What Should You Send to a 3D Environment Modeling Studio?
You don’t need a perfect design document to begin discussing a project. You do need enough information to avoid a quotation based on guesswork.
A helpful 3D environment modeling enquiry includes your game’s genre, reference images, approximate playable area, target platform and engine, style direction, asset list, expected file formats, schedule, and approval contact. Indicate whether concept art, level design, asset creation, engine integration, and optimization belong to the same vendor or different teams.
Here is a short example:
Project: Stylised coastal village for a third-person adventure game. Scope: One playable harbor street plus reusable house and market-stall kits. Engine: Unreal Engine. References: Concept art and graybox available. Deliverables: Modular meshes, texture sets, source files, and agreed engine-ready exports. Review stages: Blockout, first art pass, final QA. Open questions: Collision ownership and performance budget.
Even if some details are undecided, marking them as open questions makes the conversation easier. It also helps studios price 3D environment modeling work around actual scope, rather than a vague request for “a realistic city.”
When Should You Outsource Environment Art?
Outsourcing can make sense when a studio has strong gameplay and engineering teams but needs additional art capacity or a specialised environment pipeline. It is not always the right answer. If the game’s core visual language is still changing every day, an external team may spend more time waiting for decisions than creating assets.
A good time to outsource 3D environment modeling is after the gameplay footprint, visual targets, and acceptance criteria are reasonably stable. Start with a small paid test or limited asset set when possible. That gives both teams a chance to align on style, scale, technical expectations, and feedback rhythms before a large environment package begins.
PolyGame Studio’s environment modeling services describe a process spanning consultation, concepts, modeling, texturing, lighting, and optimization. You can also review its environment artwork portfolio to see the types of spaces shown publicly.
Frequently Asked Questions
What is the difference between 3D environment modeling and level design?
3D environment modeling focuses on building the visual and spatial world: geometry, surfaces, props, and atmosphere. Level design focuses on objectives, traversal, encounters, pacing, and player experience. Successful games require the two to work together from blockout onward.
Which software is best for 3D environment modeling?
There is no single best application. Blender, Maya, 3ds Max, Houdini, Unreal Engine, and other tools suit different parts of a pipeline. Choose based on team experience, procedural needs, file interchange, and the target engine rather than popularity alone.
How long does 3D environment modeling take?
A contained room and a detailed open-world district are very different projects. Schedule depends on environment size, asset reuse, art style, number of custom props, technical constraints, review cycles, and integration responsibilities. Ask for milestones rather than an unexplained single delivery date.
What makes a 3D environment game-ready?
Game-ready 3D environment modeling delivers more than polished geometry. It addresses scale, UVs, materials, collision, naming, file compatibility, performance targets, and how the level is assembled and tested in the engine.
Are modular assets better than custom assets?
Neither is always better. Modular assets provide efficient reuse and consistency; bespoke assets create distinctive landmarks and story moments. Strong 3D environment modeling typically combines both rather than using one method everywhere.
How much do professional 3D environment modeling services cost?
Pricing depends on the number and complexity of assets, level dimensions, style, production stages, required source files, integration work, and revisions. A detailed brief makes quotes easier to compare; a generic per-scene price often hides important differences in scope.
The World Should Work Before It Wins a Beauty Contest
Players may never notice a perfect modular seam or a carefully optimised material. They will notice when a doorway feels too narrow, a path is confusing, or a busy area stutters at the wrong moment.
That’s why 3D environment modeling should be judged as a playable experience, not only as a gallery of beautiful images. The strongest production workflows connect mood, layout, assets, lighting, and performance from the beginning.
If your team is planning a new location, refreshing an existing world, or looking for additional art production capacity, explore PolyGame Studio’s 3D environment modeling service. For a project discussion, share your references and technical goals through the contact page.
Further technical reading: Epic Games — World Partition HLOD and Unity’s graphics optimization manual. Requirements should always be checked against your project’s actual engine version and hardware targets.